Manage Robokassa Settings in Medusa Admin
In this guide, you'll learn how to view and edit Robokassa integration settings in Medusa Admin via the Integration Module.
View Robokassa Details
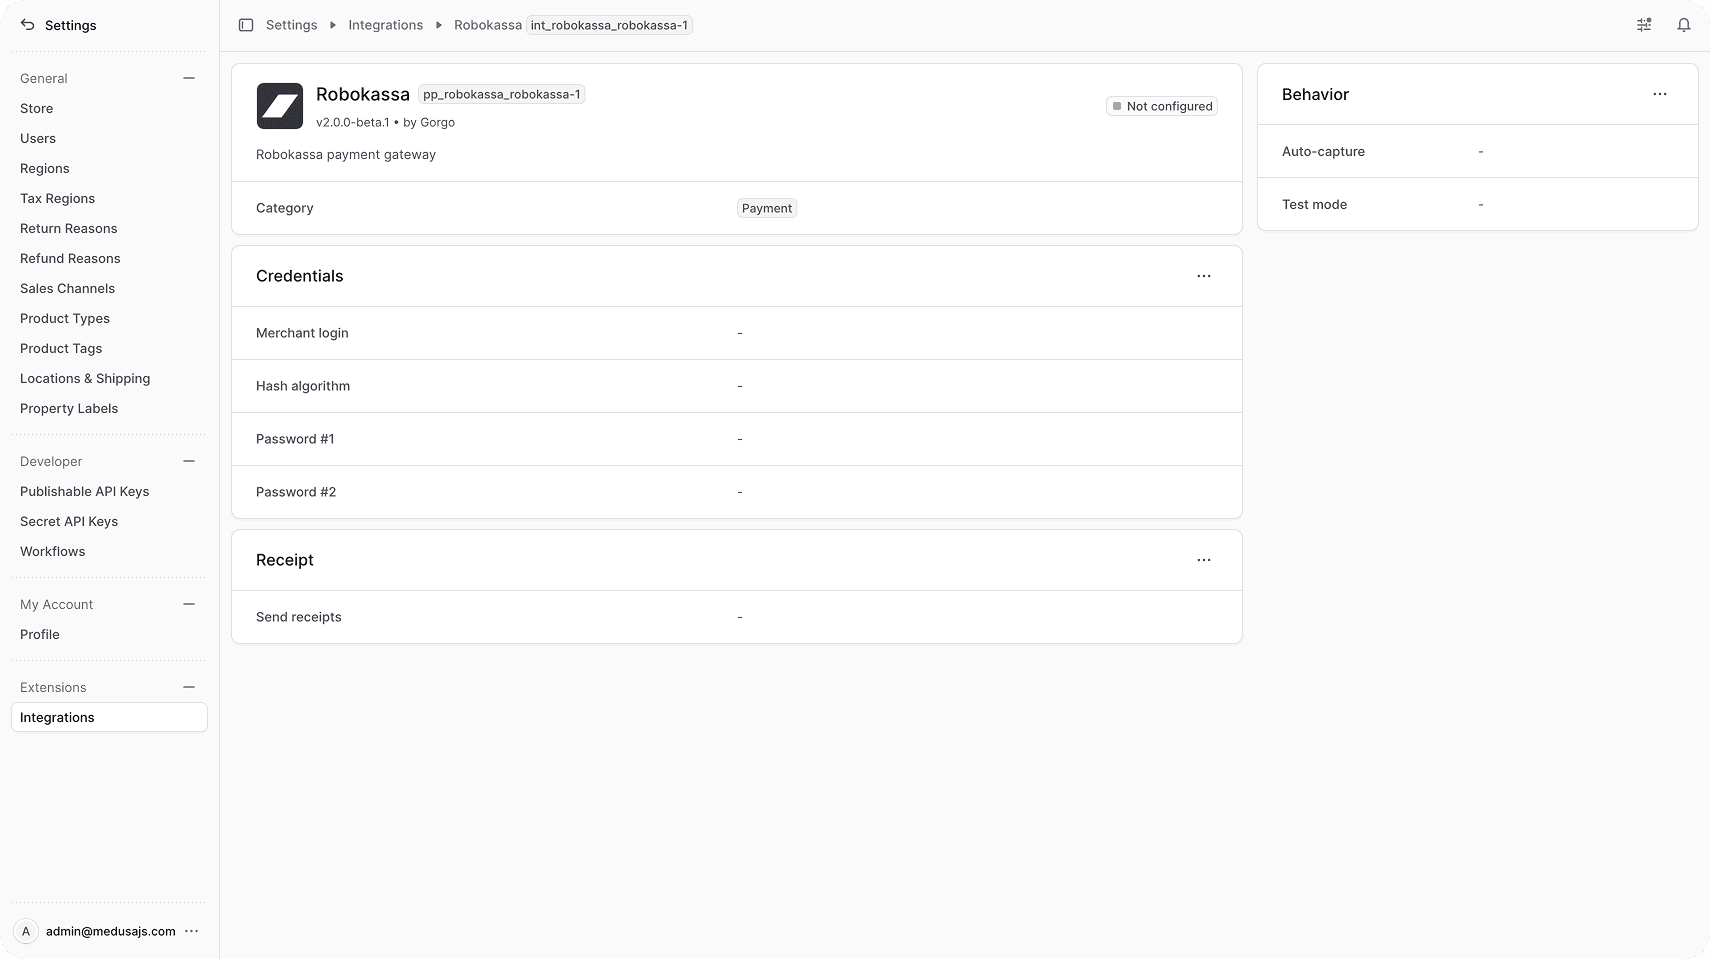
To view the Robokassa details:
- Open Medusa Admin.
- Go to Settings → Integrations → Robokassa.
This opens the Robokassa settings page where you can review the credential details, receipt generation and behavior payment parameters.
Edit Robokassa Credential Parameters
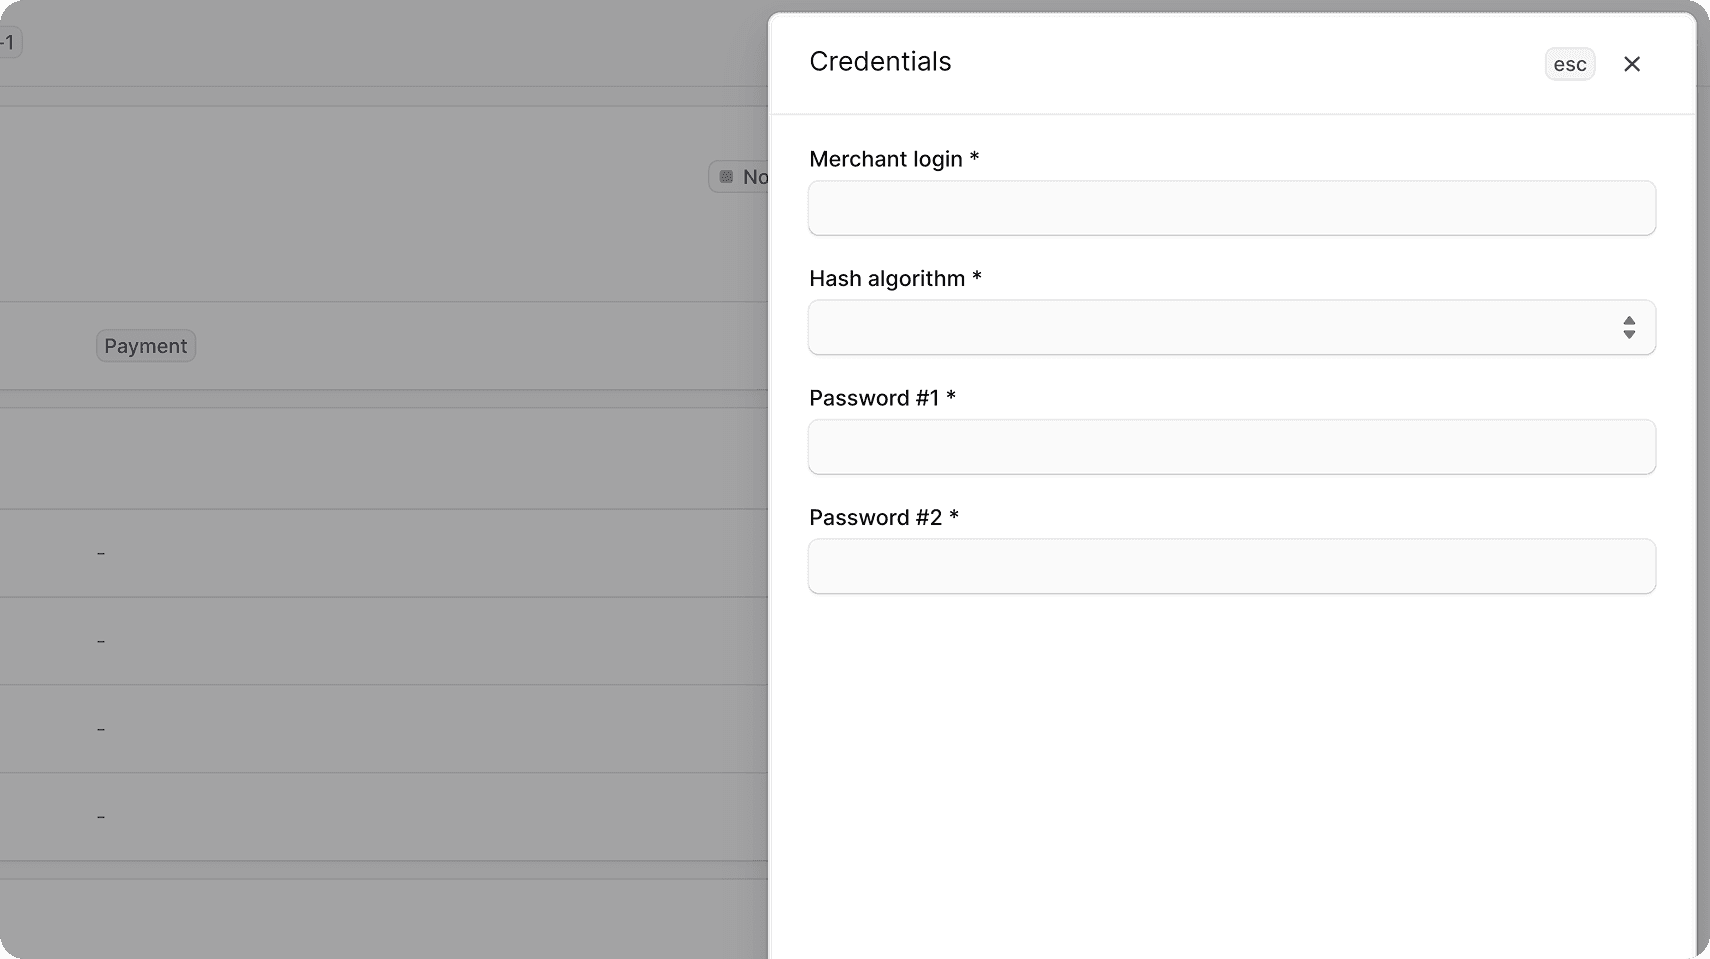
You can update the shop login, hashing algorithm, and two passwords from the first section on the Robokassa settings page.
To edit the credential parameters:
- Go to Settings → Integrations → Robokassa.
- In the Credentials section, click the action menu in the section's header.
- Choose Edit.
- In the side panel that opens, update the shop login, hashing algorithm, and passwords.
- Click Save.
Edit Receipt Generation Details
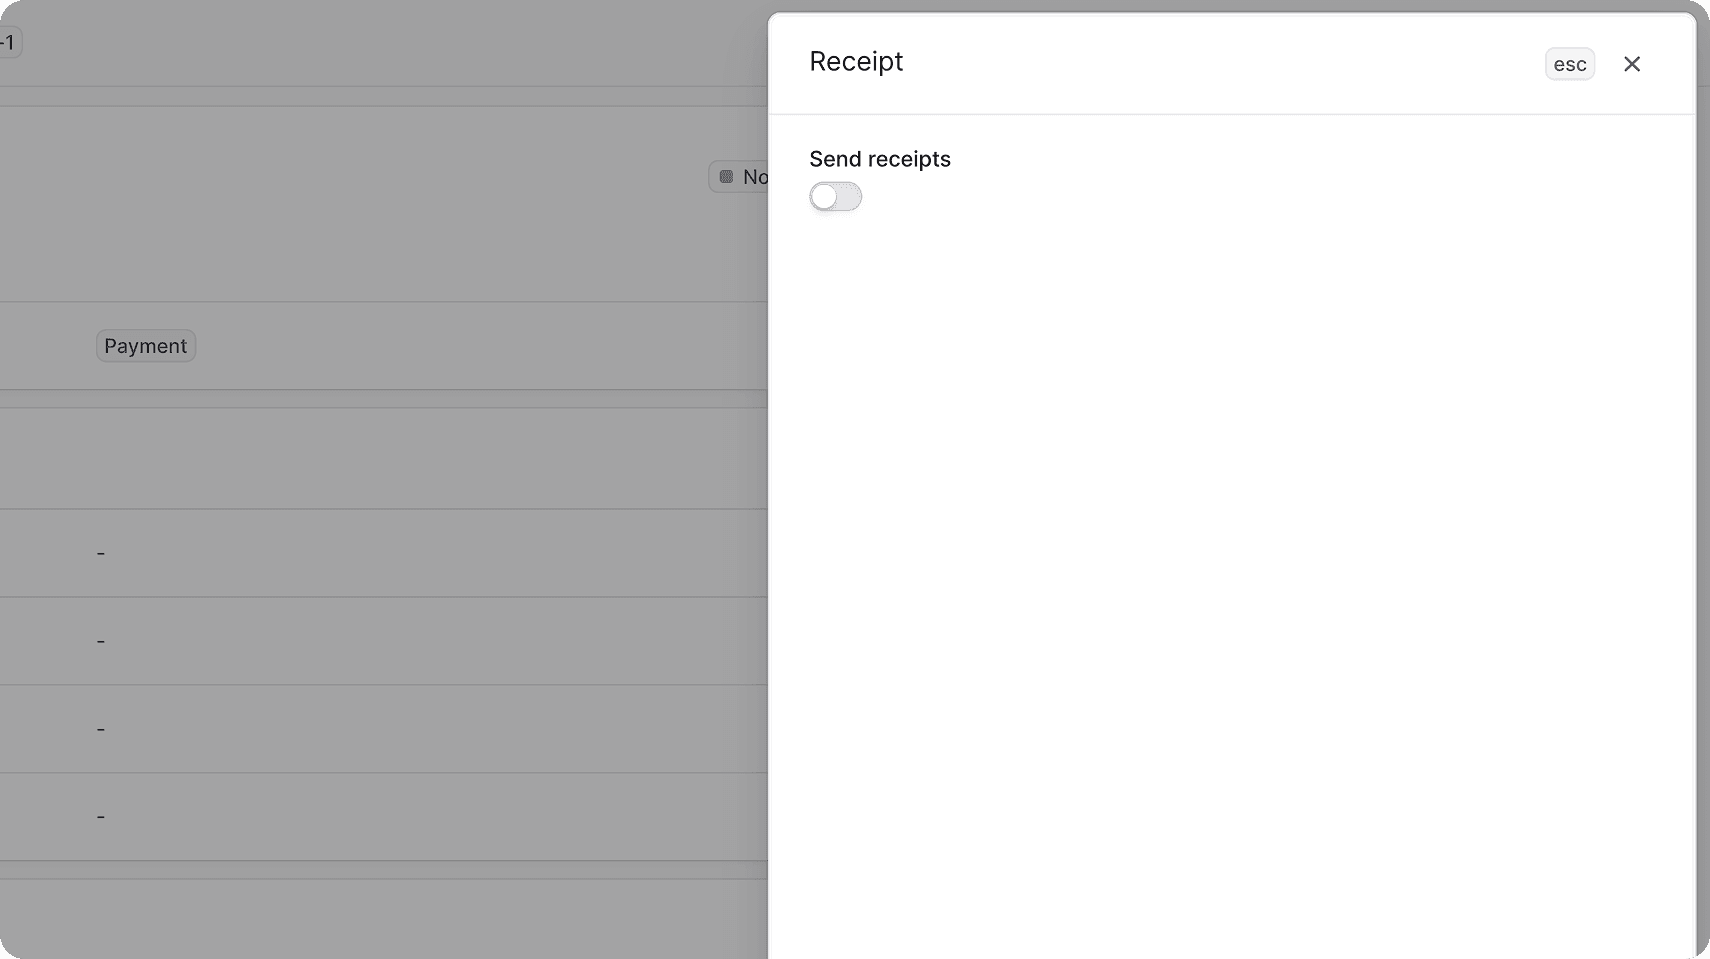
The Receipt section stores the receipt generation according to Russian fiscal data format (FFD).
To edit the receipt details:
- Go to Settings → Integrations → Robokassa.
- In the Receipt section, click the action menu in the section's header.
- Choose Edit.
- In the side panel that opens, update the tax system type and default VAT rates for products and shipping.
- Click Save.
Edit Behavior Type
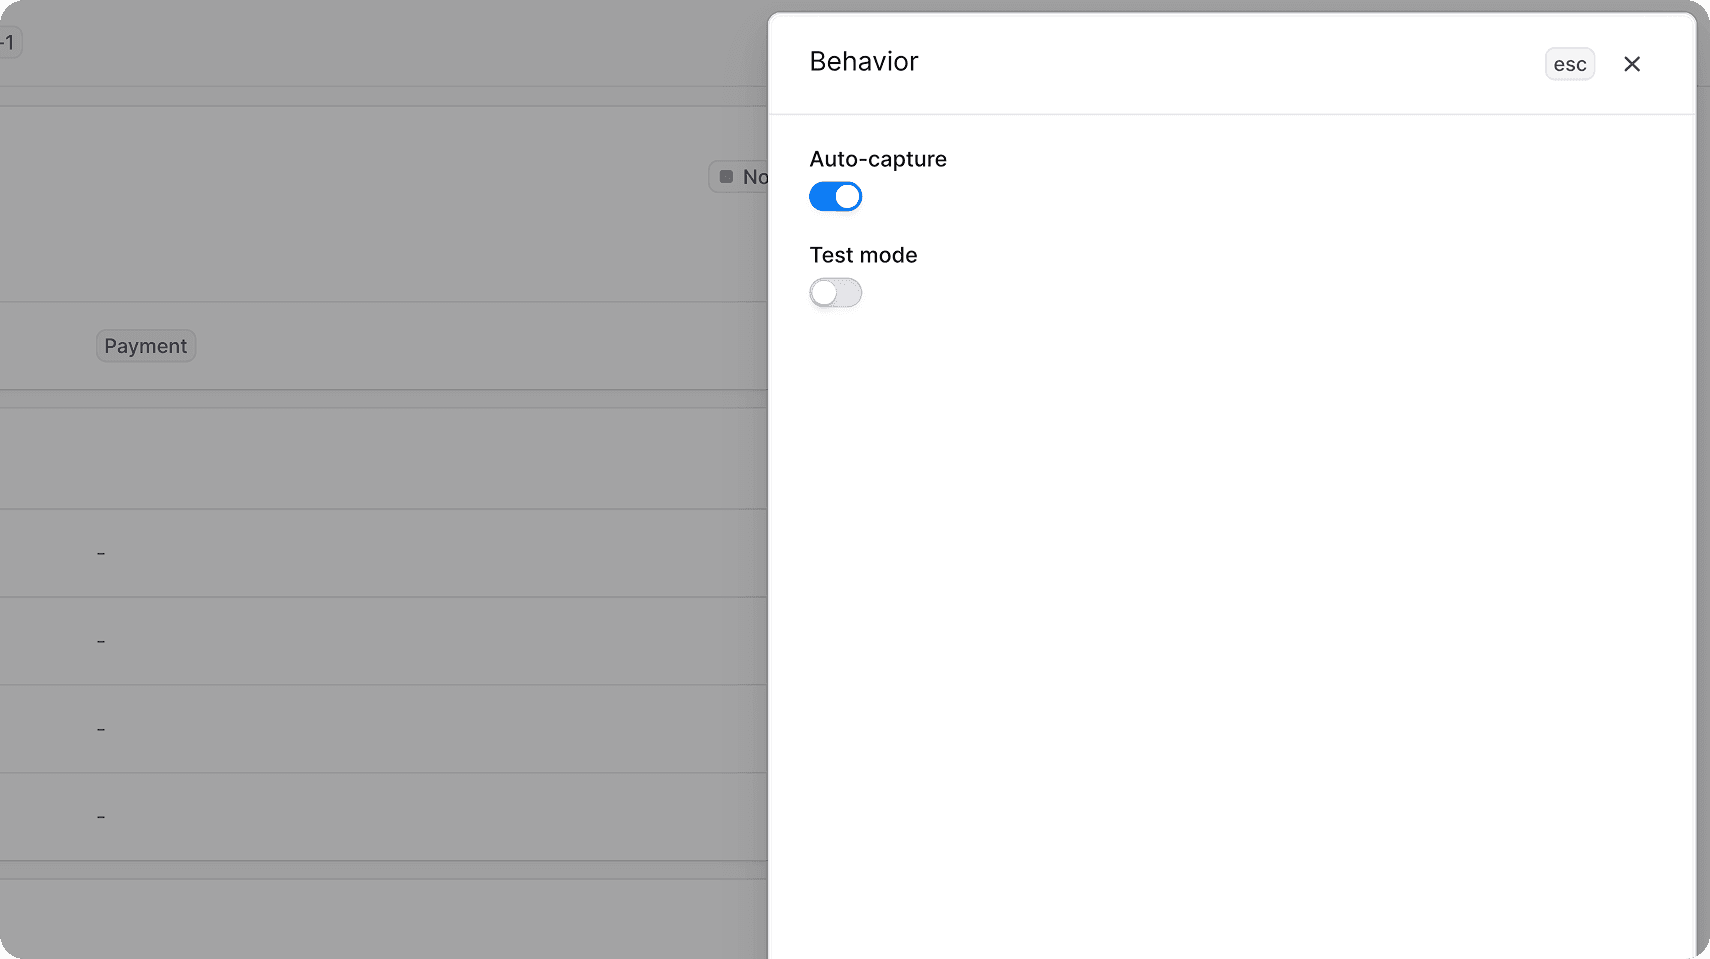
The Behavior section determines the payments processing type.
If auto-capture is enabled, one-step payment is used. If it's disabled, two-step payment is used.
To edit the payment and VAT settings:
- Go to Settings → Integrations → Robokassa.
- In the Behavior section, click the action menu in the section's header.
- Choose Edit.
- In the side panel that opens, update the auto-capture setting and payment processing mode.
- Click Save.
Add Payment Provider
To add a payment providers displayed in the Storefront for Robokassa:
- Go to Settings → Regions.
- Choose your region.
- In the first section, click the action menu in the section's header.
- Choose Edit.
- In the modal that opens:
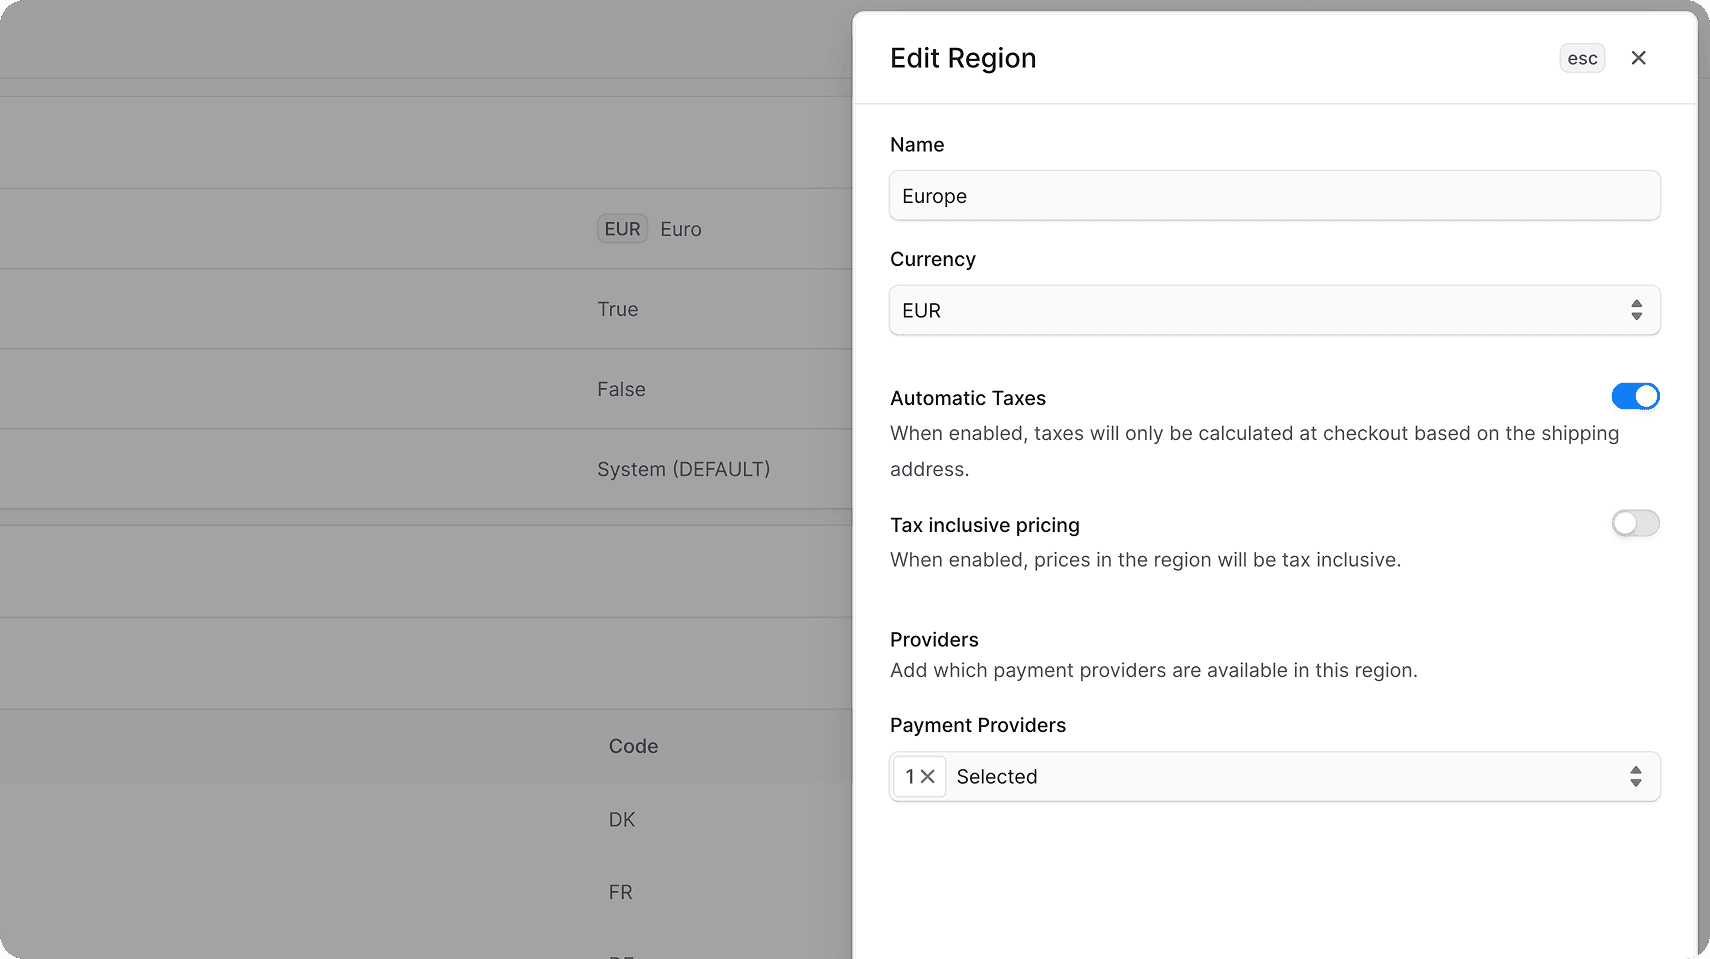
- Add Robokassa to Payment Providers.
- Click Save.